
How to Build LinkedIn Carousels with Claude Code
How to Build LinkedIn Carousels with Claude Code
Beginner
Creating original content from scratch every single day is a losing game. The average long-form blog post takes 4+ hours to write, yet most marketers publish it once, share it on social media, and move on. That's like spending a week cooking a feast and only eating one bite. Content repurposing is the highest-leverage activity in your marketing stack — and AI tools have made it almost effortless.
This playbook gives you a repeatable system. You'll start with one well-written blog post (1,500–2,500 words) and systematically transform it into 10 distinct content pieces across text, video, audio, and visual formats. Each step names the exact AI tool to use, the specific prompt to feed it, and the output you should expect. By the end, one piece of content fuels your entire content calendar for a week or more.
Not every blog post is a good candidate for repurposing. Pick a post that is at least 1,500 words, covers a topic with broad audience appeal, and contains multiple distinct subtopics or takeaways. Evergreen how-to posts, listicles, and framework-driven pieces repurpose best. Avoid news commentary or highly time-sensitive posts.
Before you feed it into any tool, clean the post up. Remove internal navigation text, CTAs, and sidebar references that won't make sense outside your blog. Copy the clean text into a single document — this is your Source Document that every subsequent step will reference.
Pro Tip: Create a "Content Repurposing Brief" at the top of your Source Document with three lines: (1) the core thesis in one sentence, (2) the target audience, and (3) the 3–5 key takeaways. This context dramatically improves AI output quality in every tool you use downstream.
Open Writesonic and navigate to the AI Article Writer or Chat feature. Writesonic excels here because it can process long-form input and restructure it for a completely different format — in this case, a conversational video script with hooks, transitions, and a call to action.
Paste your Source Document and use this prompt:
Prompt for Writesonic: "Transform the following blog post into a 7–10 minute YouTube video script. Start with a strong hook question in the first 10 seconds. Use a conversational, direct tone as if speaking to one person. Break the script into sections with clear transitions. End with a specific call to action. Add [VISUAL CUE] notes where B-roll or on-screen text would enhance the point. Here is the blog post: [paste Source Document]"
Review the output and edit for your personal speaking style. Writesonic will give you roughly 1,400–1,800 words for a 7–10 minute script. Save this script — it's both a standalone asset (Content Piece #1) and the raw material for your short-form clips in the next step.
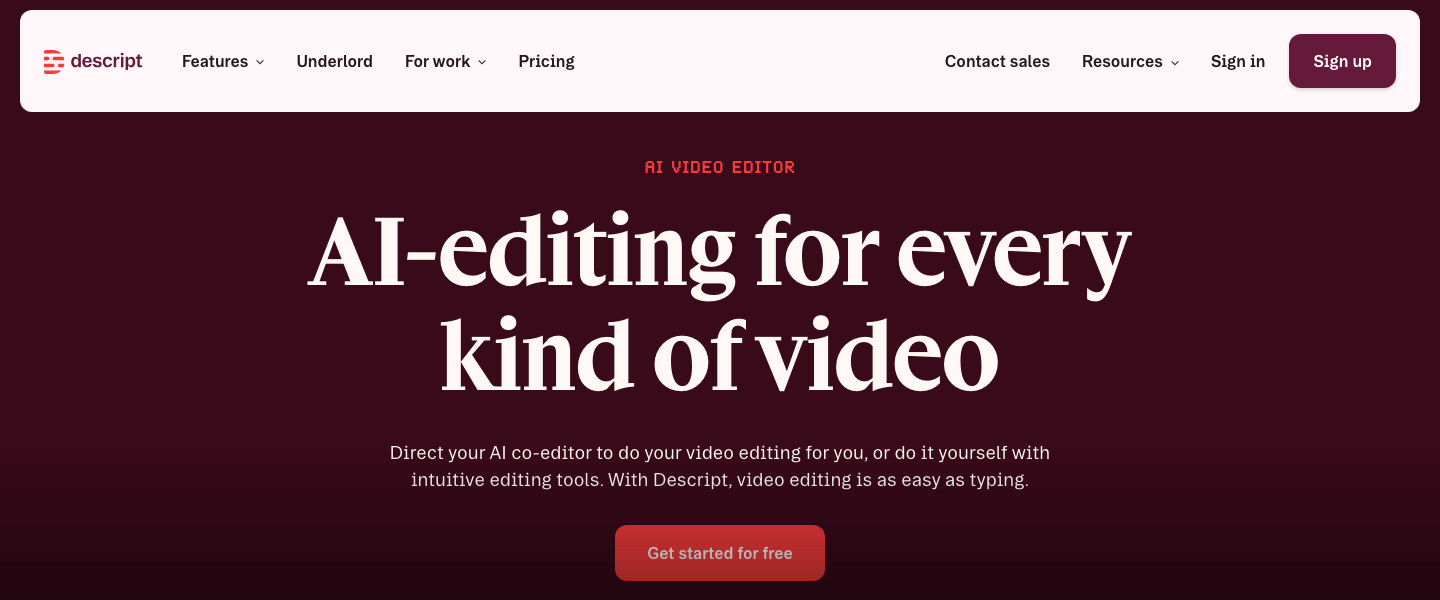
Record yourself delivering the YouTube script using any camera (even your phone). Import the footage into Descript, which will automatically transcribe everything. Descript is the best tool for this step because it lets you edit video by editing text — delete a sentence from the transcript and the corresponding video clip disappears. This makes editing accessible even if you've never touched video software.
Use Descript's "Remove Filler Words" feature to automatically cut every "um," "uh," and "like." Then use its Studio Sound feature to clean up audio if you recorded in a less-than-ideal environment. Export your polished long-form video for YouTube — that's Content Piece #1 fully produced.
Common Mistake: Don't skip the recording step and try to use only AI-generated voiceover for your YouTube video. Audiences on YouTube reward authenticity and face-to-camera presence. Save the AI voices for short-form clips where speed matters more than personal connection.
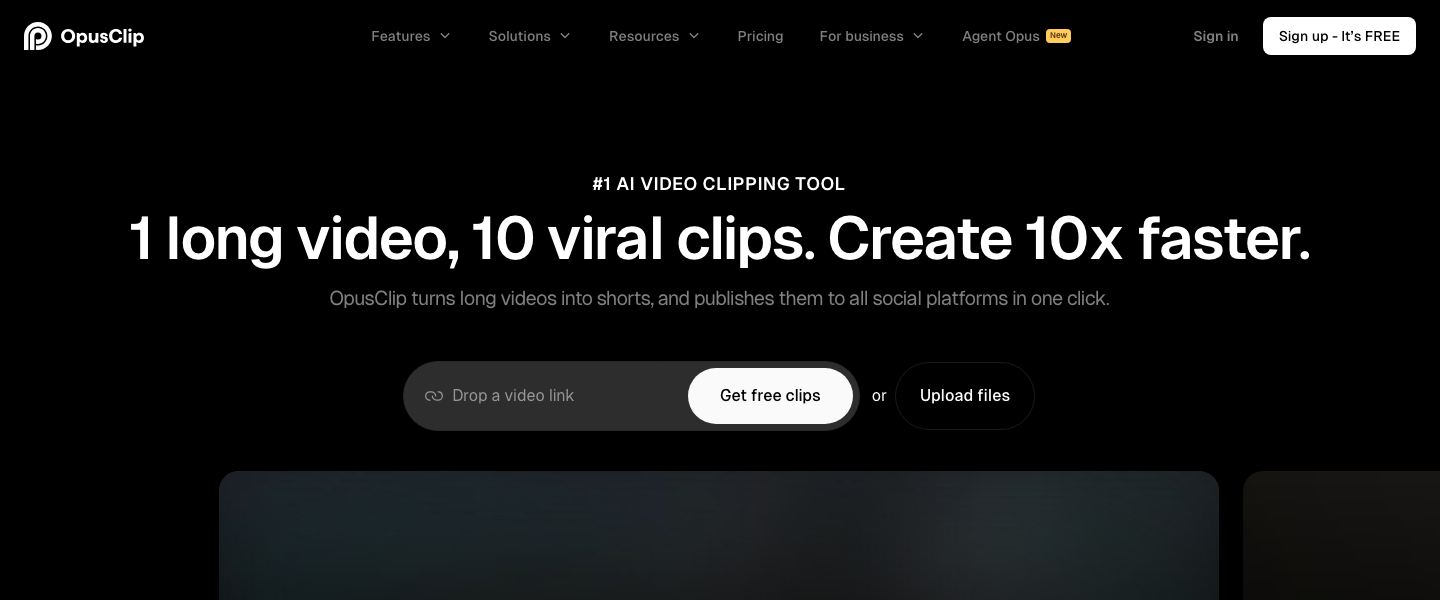
Take your finished YouTube video and upload it to Opus Clip. This tool uses AI to analyze your video, identify the most engaging segments based on content hooks and pacing, and automatically clip them into vertical short-form videos (30–90 seconds) with captions baked in.
Opus Clip's "Virality Score" ranks each suggested clip, so you're not guessing which moments will perform. Select the top 3 clips. For each one, customize the caption style (bold, centered captions perform best on Reels and TikTok), add a hook title at the top of the frame, and export. That's Content Pieces #2, #3, and #4 — ready for TikTok, Instagram Reels, YouTube Shorts, and LinkedIn video.
Pro Tip: If your source blog post has a controversial opinion or a surprising statistic, manually tell Opus Clip to prioritize the segment where you discuss it. Counterintuitive statements drive the highest short-form engagement — 3x more comments on average than generic tips.
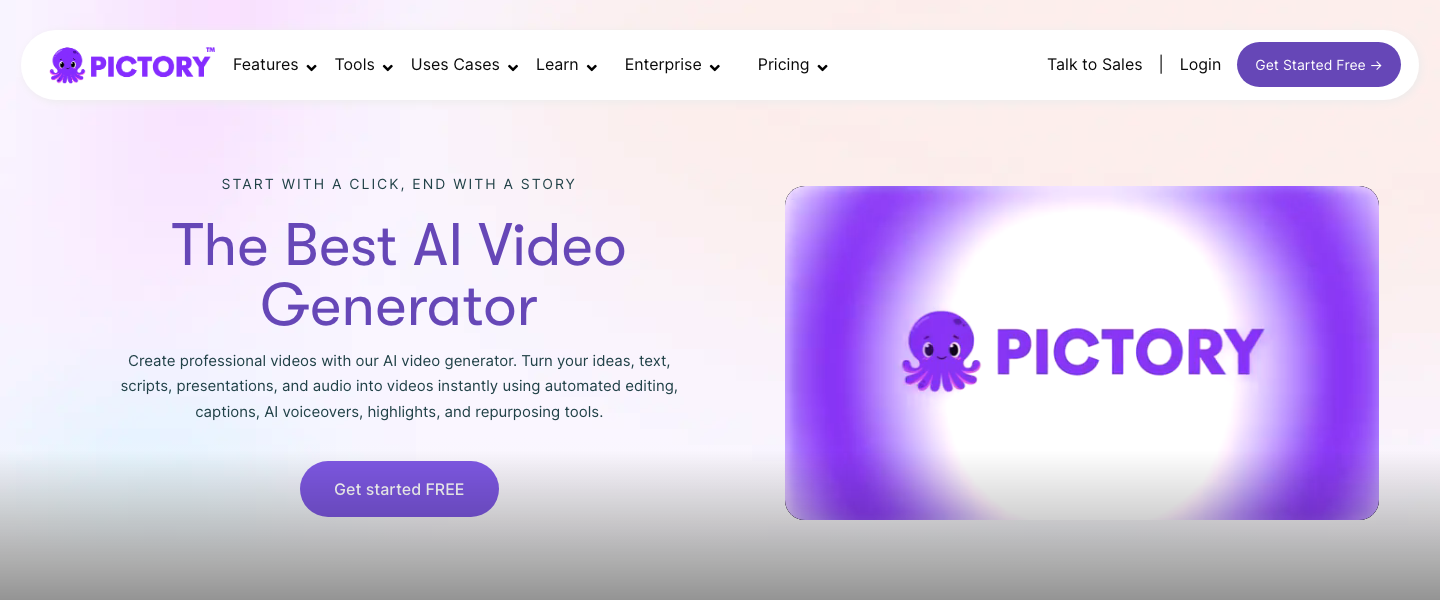
Alternatively, if you prefer to create short-form videos directly from text (without recording yourself), use Pictory. Paste a key section of your blog post into Pictory, and it will generate a video with stock footage, on-screen text, background music, and AI voiceover. This is ideal for brands that want faceless content or need to produce volume quickly. Pictory's strength is turning raw text into polished, branded video in under 10 minutes.
Go back to Writesonic and use the following prompt to distill your blog post into a punchy thread format. Twitter threads that perform well follow a specific structure: a curiosity-driven first tweet, numbered value tweets, and a closing CTA tweet.
Prompt for Writesonic: "Convert this blog post into a Twitter/X thread of 8–12 tweets. Tweet 1 should be a bold, curiosity-driven hook (no hashtags). Tweets 2–10 should each deliver one specific insight or tactic, written in short punchy sentences. The final tweet should include a CTA to read the full blog post. Use line breaks between sentences within each tweet for readability. Here is the blog post: [paste Source Document]"
Edit the output to match your voice. Replace generic phrases with specific numbers or examples from the original post. That's Content Piece #5. Post it natively on X and schedule it for Tuesday or Wednesday morning (10–11am) when engagement rates are highest for B2B content.
LinkedIn carousels (PDF documents posted as swipeable slides) get 3x more reach than standard text posts on average. Use Writesonic to create the text content for each slide, then drop it into a simple design template in Canva or your preferred tool.
Prompt for Writesonic: "Turn this blog post into a LinkedIn carousel outline with 10 slides. Slide 1: a bold headline that creates curiosity. Slides 2–9: one key point per slide with a short headline (max 8 words) and 1–2 supporting sentences. Slide 10: a summary takeaway and CTA to comment or follow. Keep all text concise enough to read in 3 seconds per slide. Here is the blog post: [paste Source Document]"
The output gives you Content Piece #6 — a complete slide-by-slide text outline. Design takes 15 minutes using a template. Post on LinkedIn with a 2–3 sentence caption that teases the first insight.
Your blog post likely has subscribers who never saw it. Repurpose it into a value-driven email that stands on its own — don't just send a "new blog post" notification with a link. Use Writesonic to restructure the content for email.
Prompt for Writesonic: "Rewrite this blog post as a concise email newsletter (300–400 words). Use a casual, direct tone. Start with a relatable one-sentence hook about the reader's problem. Deliver the top 3 insights from the post as a numbered list with brief explanations. End with a link to the full post for readers who want the deep dive. Subject line options: give me 3. Here is the blog post: [paste Source Document]"
This gives you Content Piece #7 — a newsletter that provides immediate value and drives traffic back to the original post. Expect 15–25% higher click-through rates compared to simple "check out our new post" emails.
For the infographic outline (Content Piece #8), prompt Writesonic one more time:
Prompt for Writesonic: "Extract the key data points, steps, and framework from this blog post and organize them into an infographic outline. Include: a headline, 5–7 sections with short labels and supporting stats or facts, and a footer CTA. Format it so a designer can immediately build from it. Here is the blog post: [paste Source Document]"
For social media quote graphics (Content Pieces #9 and #10), pull the two most shareable, standalone sentences from your blog post. These should be opinion-driven, counterintuitive, or data-backed. Format them as text overlay on a branded background image in Canva. If you're unsure which lines to pick, paste your post into Writesonic with this prompt: "Identify the 5 most quotable, shareable one-liner sentences from this blog post that would work as standalone social media graphics." Select your top 2.
Pro Tip: Track which of your 10 content pieces gets the most engagement each week. After 4 weeks, you'll see a clear pattern — most marketers discover that 2–3 formats consistently outperform. Double down on those formats and reduce effort on the others.
Here is the complete sequence mapped to tools:
Total estimated time: approximately 2.5 hours to produce 10 content pieces from one blog post. Without AI tools, this same output would take 12–15 hours.
The best AI marketing tools, reviewed and rated by marketers who actually use them.